> ## Documentation Index
> Fetch the complete documentation index at: https://basecamp.mintlify.site/llms.txt
> Use this file to discover all available pages before exploring further.
# Repository
> リモートリポジトリの作成とプッシュ
## 1. リモートリポジトリの作成
GitHub へアクセスして新規リモートリポジトリを作成しましょう。
[https://github.com/](https://github.com/)
1. 画面右上の **+** アイコンをクリックし **New repository** を選択します。
2. **Create a new repository** ページに遷移したら **Repository name** 欄に[Packages](./packages#1)で作成したプロジェクト名と同じ名前を入力します。
3. リポジトリはデフォルトで Public(全体に公開される)リポジトリのため、全体に公開したくない場合は **Private** に変更しましょう。
4. その他の設定は必要ないため、**Create repository** でリポジトリを作成しましょう。
## 2. ローカルリポジトリにアクセス
1. **Fork** を起動し、メインメニューから **File > Open Repository** を選択します。
2. [Packages](./packages#1) で作成したプロジェクトディレクトリを選択します。
## 3. ローカルリポジトリをリモートリポジトリにプッシュ
1. サイドバーの **Branches** に表示された **master** ブランチを右クリックし **Rename 'master'...** を選択するとブランチ名の変更ダイアログが表示されるため、**New Name** 欄に **main** と入力してブランチ名を変更しましょう。
2. サイドバーの **Local Changes** が **1** になっているはずなので、**Unstaged** に表示されたファイルを全て選択して **Stage** をクリックします。
3. ソースの変更内容が表示されたウインドウの下にある **Commit subject** に **Initial Commit** と入力して右下の **Commit**ボタンをクリックします。
4. 画面左上の **Push** ボタンをクリックすると **Push** ダイアログが表示されるため、**Remote** をクリックし、**Add Remote...** を選択します。
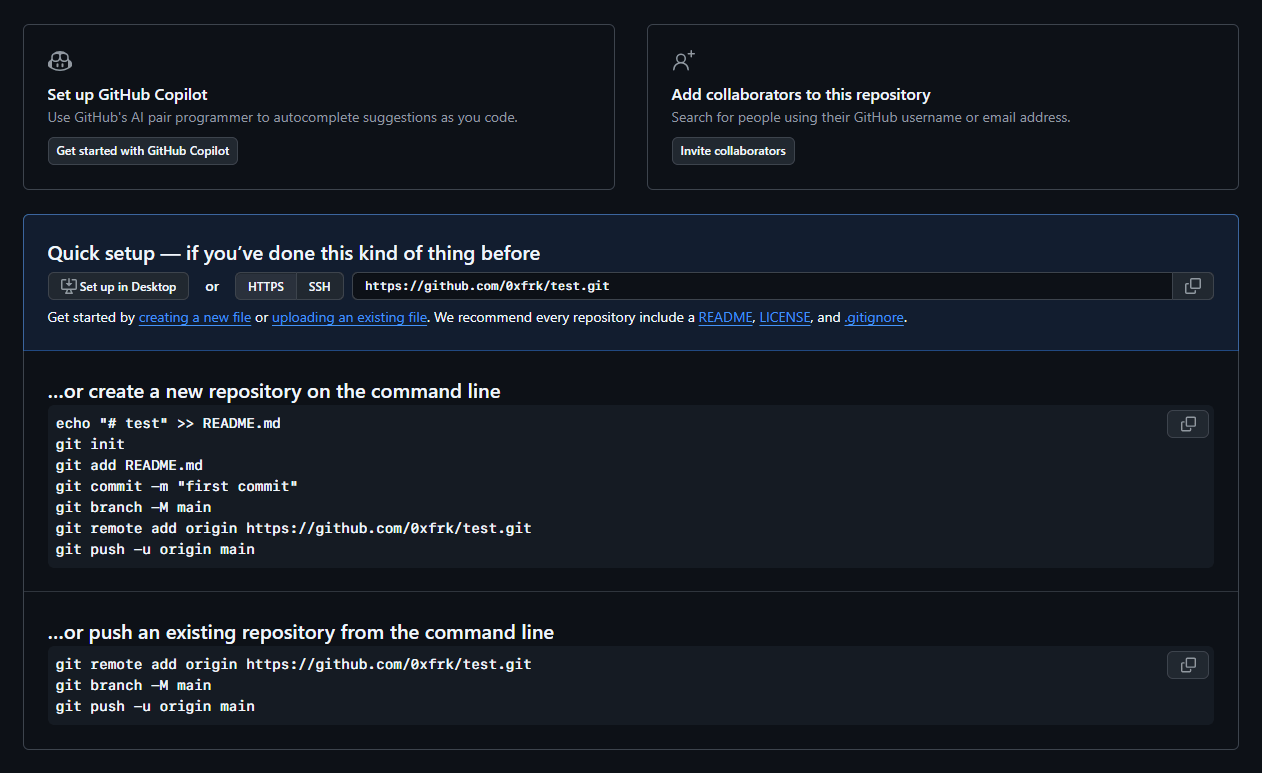
5. **Add Remote** ダイアログが表示されるため、**Repository URL** 欄に GitHub で作成したリモートリポジトリの URL を入力し、**Add New Remote** ボタンをクリックします。
 6. **Push** ダイアログに戻ったら、**Push** ボタンをクリックします。