> ## Documentation Index
> Fetch the complete documentation index at: https://basecamp.mintlify.site/llms.txt
> Use this file to discover all available pages before exploring further.
# Combine Profile Images
> 取得したプロフィール画像と用意した別の画像を合成してみよう
## 1. プロフール画像を利用したフレームの作成
では、先ほど [プロフィール画像を取得してみよう](get-pfp) で取得した画像を用いて、プロフィール画像と別の画像を合成するフレームを作ってみましょう。
どちらの方法も修正するソースの場所は変わらないため、今回はソースコードの中の修正に必要な部分だけを抜粋して説明します。
### 修正前のコード
```typescript /app/frames/reveal/route.tsx {2} theme={null}
return {
image: profileImageUrl,
imageOptions: {
aspectRatio: "1:1",
},
buttons: [
,
],
};
```
### 修正後のコード
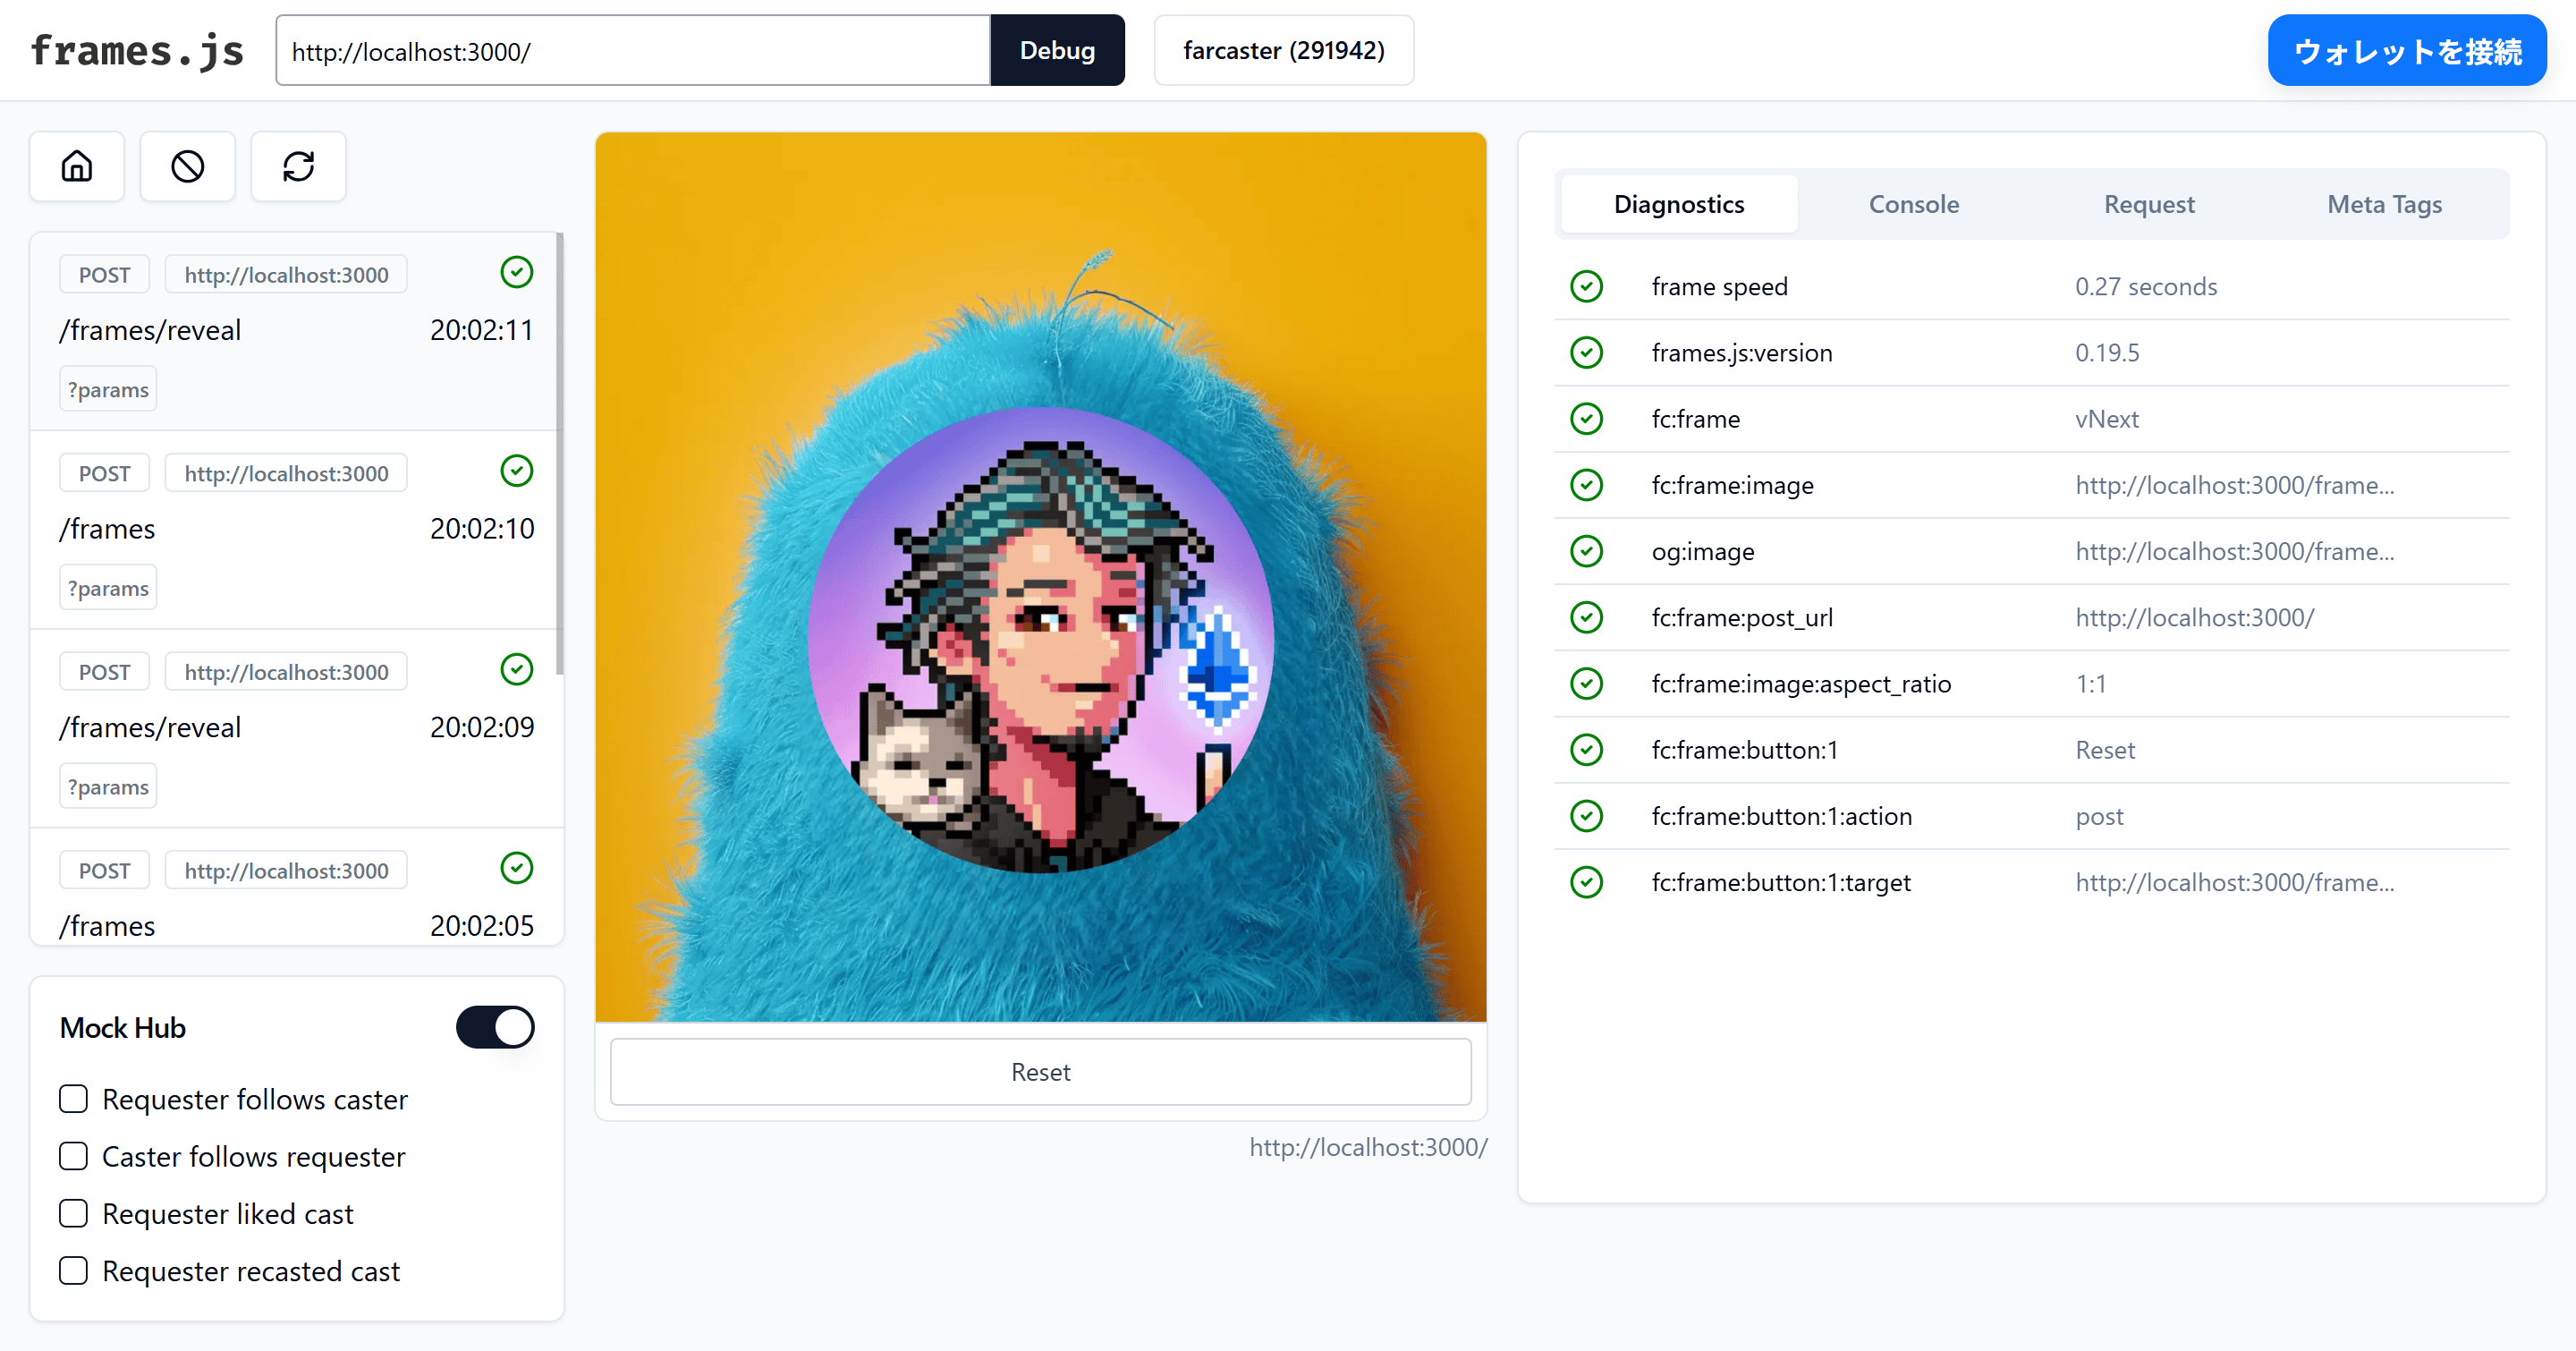
今回は顔がついていない青い鳥の画像にプロフィール画像を合成するため、以下の手順でプロフィール画像と鳥の画像を合成していきます。
1. プロフィール画像を `div` で囲い、`tailwindcss` のクラス `flex` 追加
2. プロフィール画像を `div` をフレームのサイズと同じにするために `tailwindcss` のクラス `w-full` と `h-full` を追加
3. プロフィール画像のサイズをフレームの画像より少し小さめな **600px** に設定
4. プロフィール画像を円形にするために `tailwindcss` のクラス `rounded-full` 追加
5. プロフィール画像と青い鳥の画像を組み合わせるために、`div` の背景に背景画像として `bird.png` を設定
6. 背景画像がリピートされないように念のため、`backgroundRepeat` を `no-repeat` に設定
7. プロフィール画像を一旦上下中央に配置するために `tailwindcss` のクラス `justify-center` と `items-center` を追加
8. 最後にプロフィール画像の縦の位置を微調整するため、画像を囲っている `div` の上にパディング(余白)を追加するために `tailwindcss` のクラス `pt-40` を追加
**Tailwind CSS** について詳しく知りたい場合は、以下の公式ドキュメントを参照してください。
Documentation
### 上記の手順で修正した最終的なコード
```typescript /app/frames/reveal/route.tsx {2-12} theme={null}
return {
image: (
),
imageOptions: {
aspectRatio: "1:1",
},
buttons: [
,
],
};
```
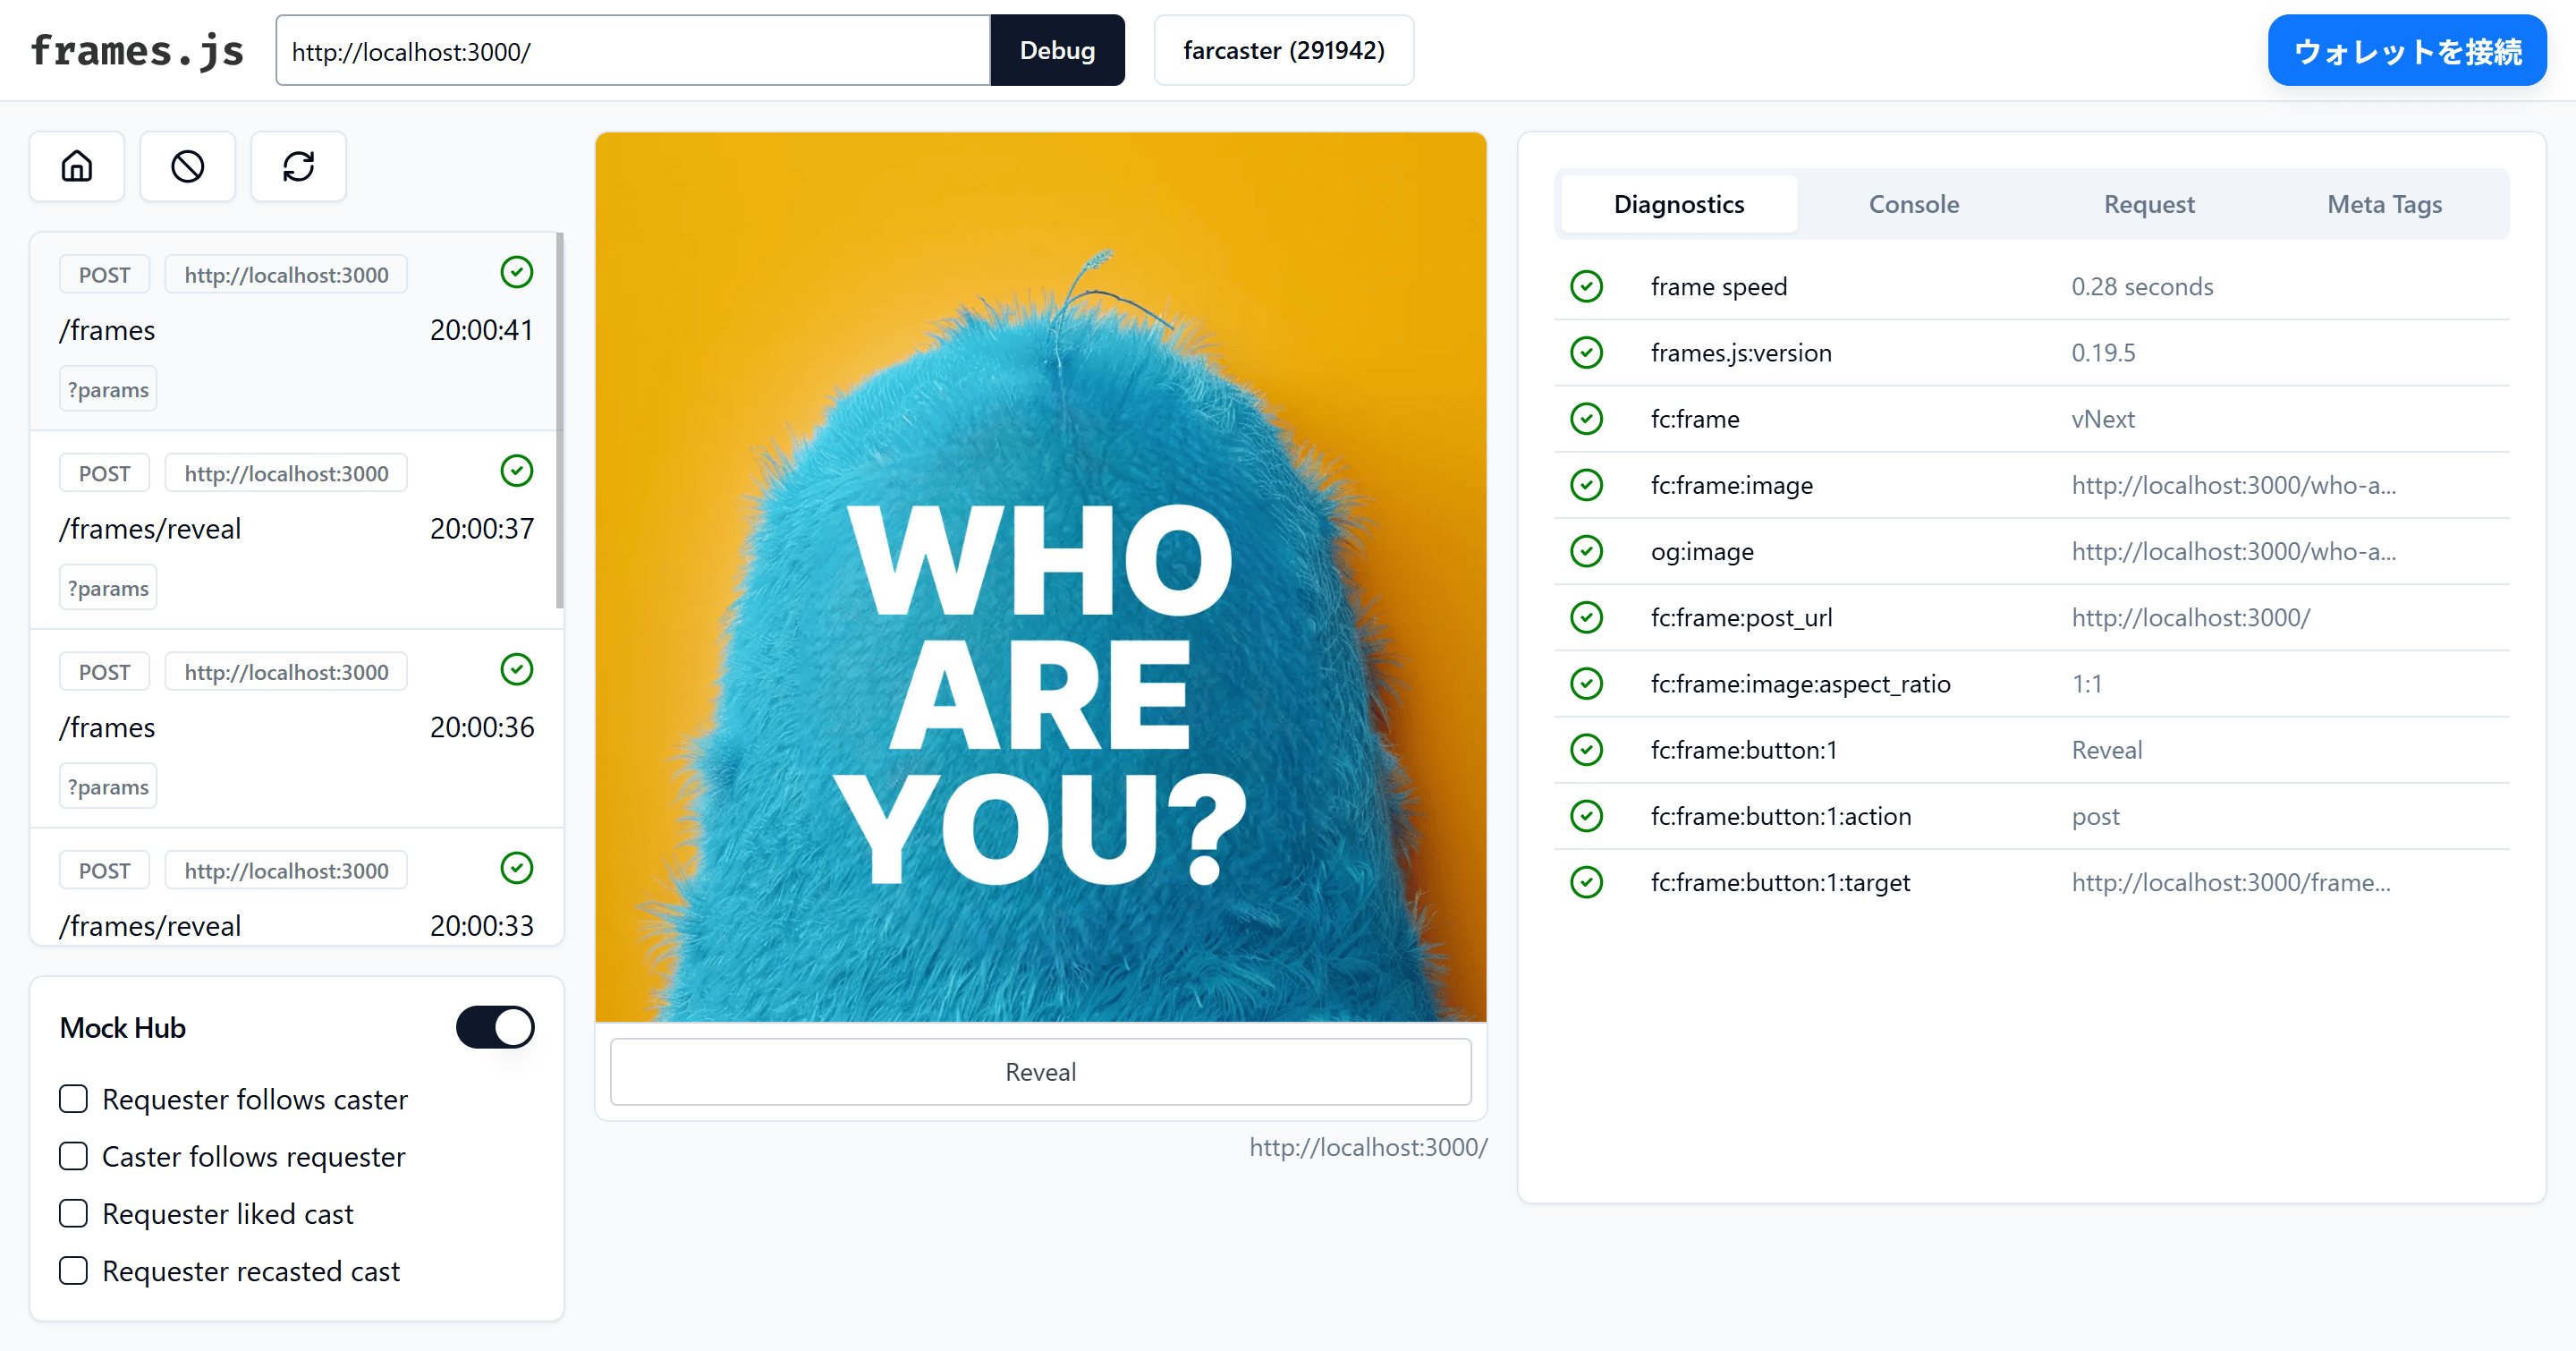
修正が完了したら動作を確認してみましょう。
### ボタンクリック前
 ### ボタンクリック後
 ## 2. レイアウトのデバッグ
フレーム内での位置調整などレイアウトのデバッグを行いたい場合は以下のようにオプションを設定します。
```typescript /app/frames/frames.tsx {6} theme={null}
import { farcasterHubContext } from "frames.js/middleware";
import { createFrames } from "frames.js/next";
export const frames = createFrames({
basePath: "/frames",
debug: process.env.NODE_ENV === "development",
middleware: [
farcasterHubContext({
...(process.env.NODE_ENV === "production"
? {
hubHttpUrl: "https://hubs.airstack.xyz",
hubRequestOptions: {
headers: {
"x-airstack-hubs": process.env.AIRSTACK_API_KEY as string,
},
},
}
: {
hubHttpUrl: "http://localhost:3010/hub",
}),
}),
],
});
```
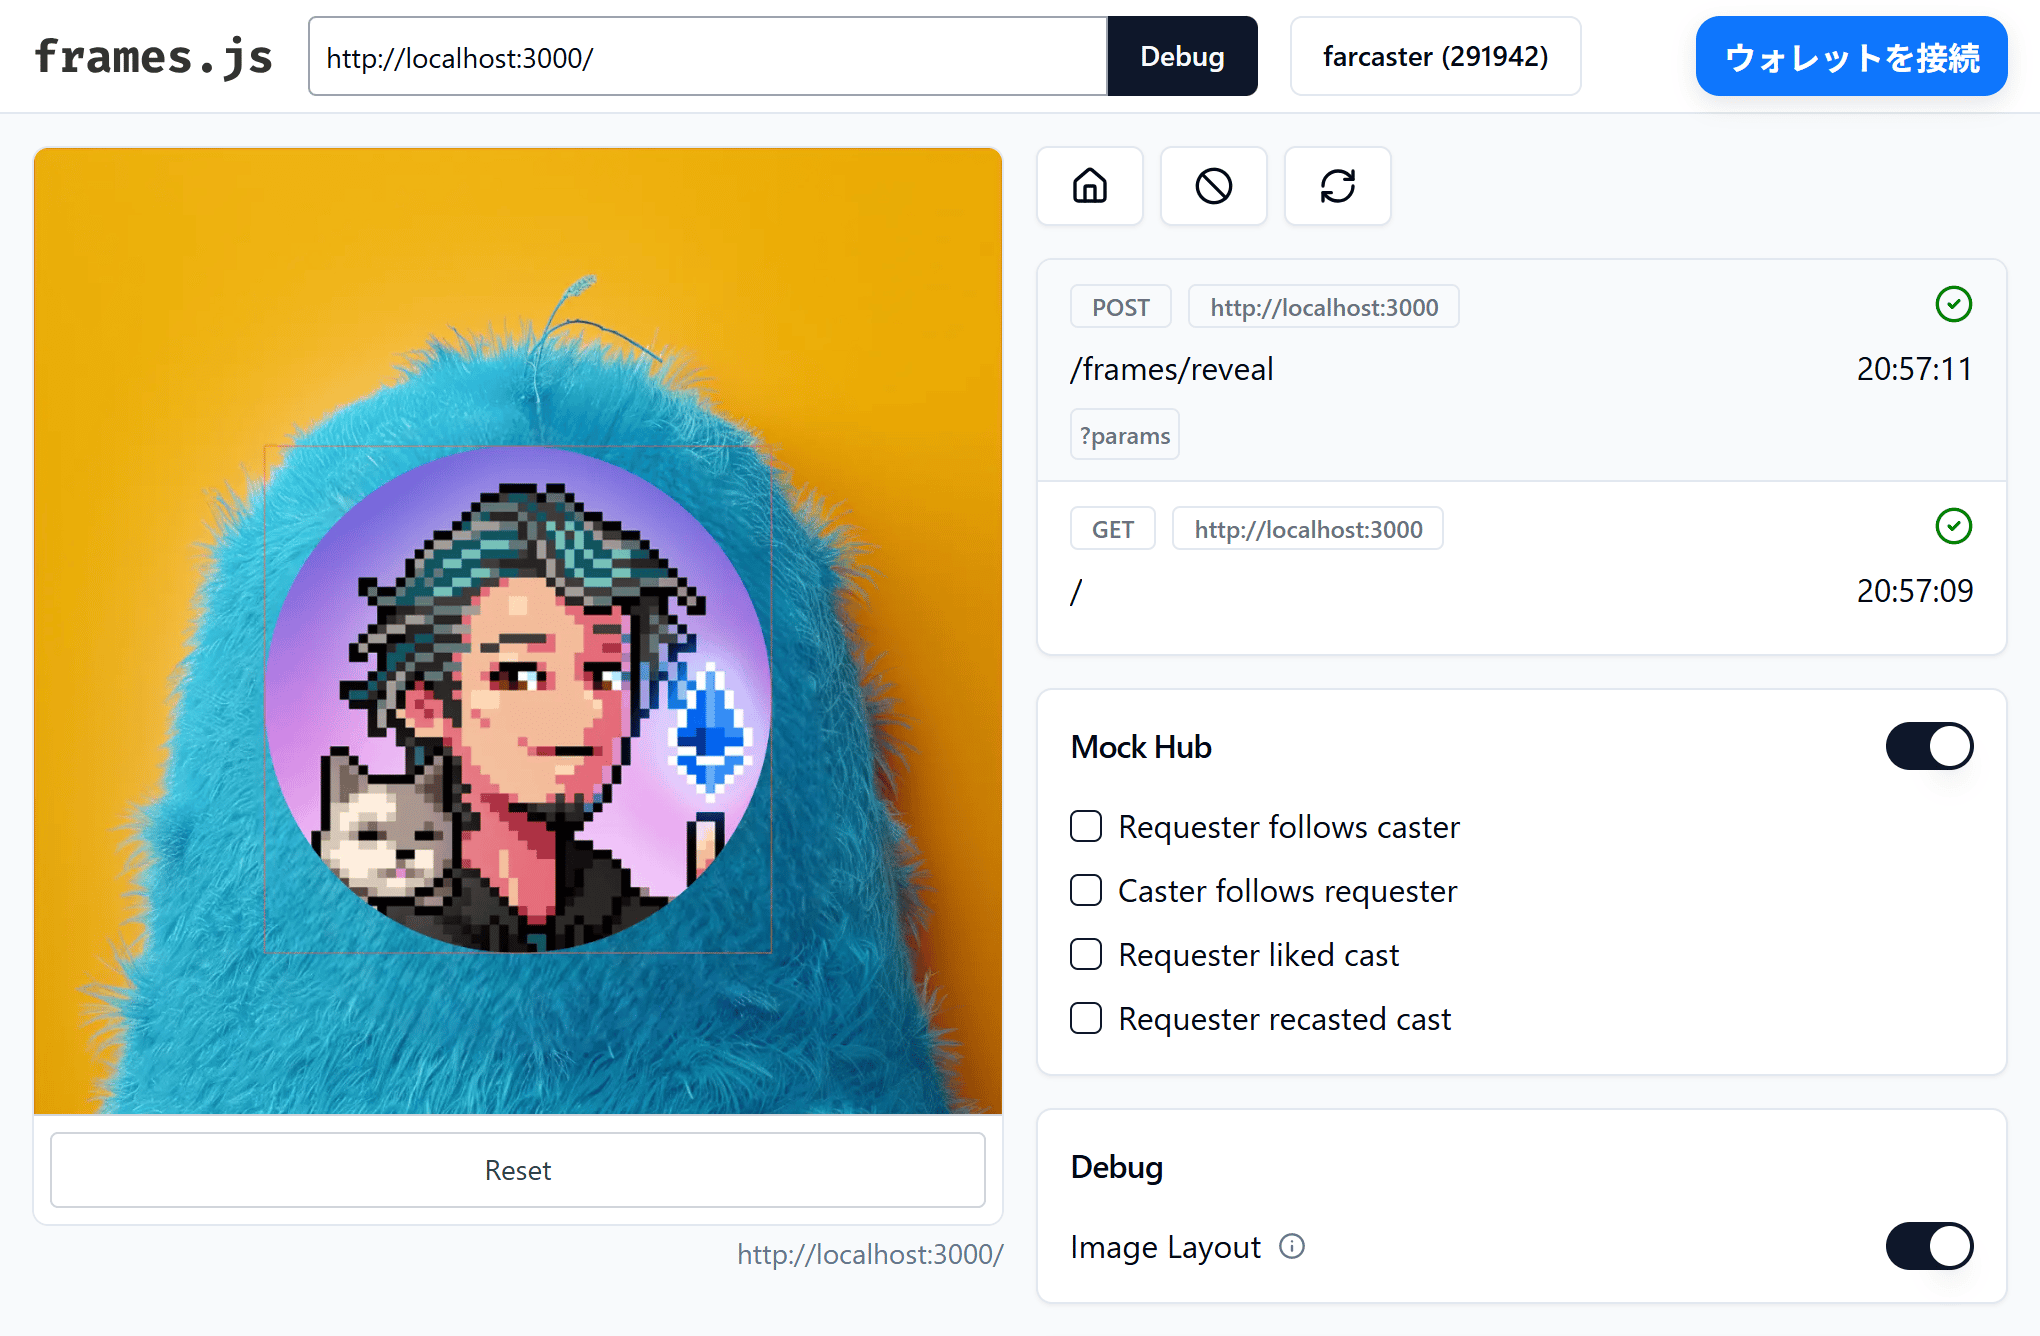
少しわかりづらいですが **Debug** 欄にある **Image Layout** のトグルスイッチをオンにするとレイアウトを確認するための境界線が表示されます。
## 2. レイアウトのデバッグ
フレーム内での位置調整などレイアウトのデバッグを行いたい場合は以下のようにオプションを設定します。
```typescript /app/frames/frames.tsx {6} theme={null}
import { farcasterHubContext } from "frames.js/middleware";
import { createFrames } from "frames.js/next";
export const frames = createFrames({
basePath: "/frames",
debug: process.env.NODE_ENV === "development",
middleware: [
farcasterHubContext({
...(process.env.NODE_ENV === "production"
? {
hubHttpUrl: "https://hubs.airstack.xyz",
hubRequestOptions: {
headers: {
"x-airstack-hubs": process.env.AIRSTACK_API_KEY as string,
},
},
}
: {
hubHttpUrl: "http://localhost:3010/hub",
}),
}),
],
});
```
少しわかりづらいですが **Debug** 欄にある **Image Layout** のトグルスイッチをオンにするとレイアウトを確認するための境界線が表示されます。